The short answer: not tying shoelaces at 6 does not, by itself, show that a child has a developmental delay. Shoe tying combines several skills at once: remembering a sequence, using both hands together, controlling finger movements, keeping the right amount of tension and tolerating mistakes. Some children need more direct teaching and more repetitions than others.
If your search is “6 year old can’t tie shoelaces,” start with a low-pressure check and a short daily practice rather than a test. Use a loose practice shoe or lacing board on a table, teach one small part at a time and let hook-and-loop shoes handle rushed school mornings while the skill develops.
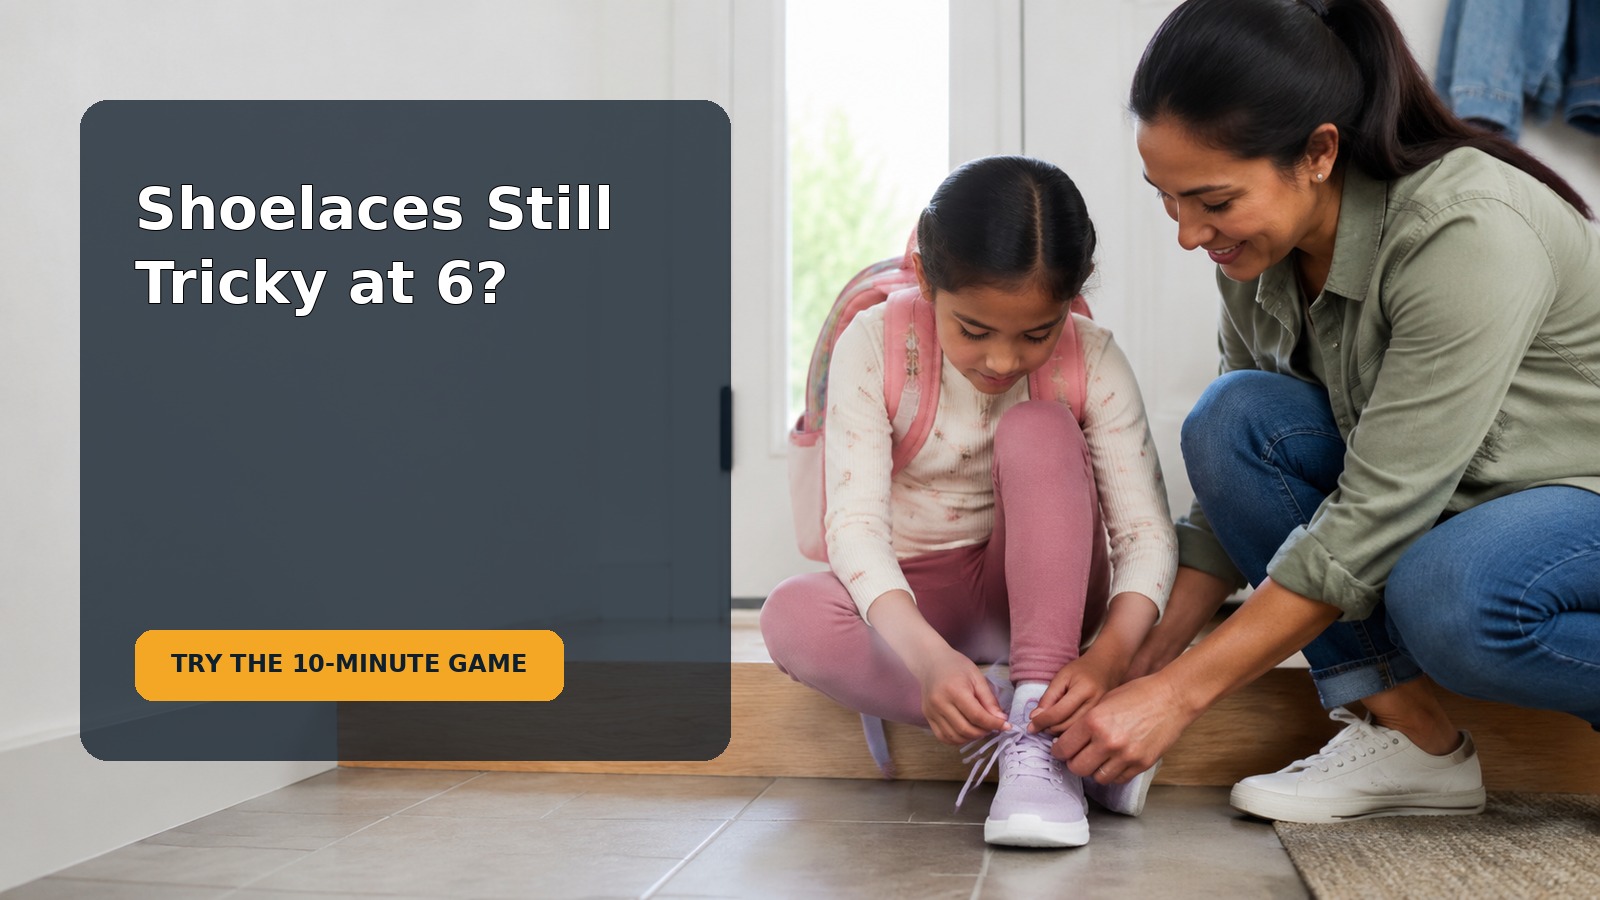
Start with the immediate question: should a 6-year-old tie shoes independently?
What is reasonable at ages 6–7
Children do not acquire every self-care skill on the same birthday. Shoe tying may be introduced around the early school years, but success depends on prior experience, the teaching method, the laces and shoe, attention, hand skills and how often the child practices. A child who has mainly worn slip-ons or hook-and-loop shoes may simply have had fewer opportunities.
The American Occupational Therapy Association explains that occupational therapy can support children’s participation in everyday activities at home, school and in the community. That includes self-care and school routines. This does not mean a child who cannot tie shoes needs therapy. It means the useful question is broader: can the child participate in the daily tasks expected in their setting, with suitable teaching and supports?
What changes the answer for this child
Look beyond the knot. Does your child manage buttons, zippers, utensils, pencils, scissors and small building pieces roughly as expected for their experience? Can they follow a short sequence in other activities? Do they avoid using one hand, complain of pain or struggle with many everyday hand tasks? One unfinished skill is different from a broad pattern that interferes with school or self-care.
Also consider the environment. Thick, flat laces are easier to grip than thin, slippery round ones. A shoe moving on a foot is harder to manage than a practice shoe placed on a table. A hurried adult saying “watch me” may move too fast for a child to see the sequence.
A calm first-step check
Observe before teaching
Ask your child to show you what they already know, but frame it as information rather than a test:
“I want to see which part your hands already know and which part we should practice together. You do not have to finish the whole knot.”
Notice whether your child can cross the laces, tuck one under, pull both ends, make a loop, wrap the other lace and pull a second loop through. Stop after one attempt if frustration rises. The point is to find the first missing step, not to prove failure.
Check the materials and setup
- Use two thick, flat laces in contrasting colors when possible.
- Make sure the laces are long enough to form loops without becoming tangled.
- Place a clean practice shoe on a table with the toe pointing away from the child, matching the view they have when wearing it.
- Seat the child with feet supported and shoulders relaxed.
- Practice when nobody needs to leave the house.
- Keep independent footwear available for school until tying is reliable.
If you use a lacing board, choose a sturdy product intended for the child’s age and inspect it for loose or broken pieces. Ordinary laces are not toys for unsupervised play and should not be worn around the neck or tied around the body.
The 10-minute shoelace practice
Ten minutes is a ceiling, not a requirement. A focused five-minute practice that ends calmly is more useful than twenty minutes of conflict. Repeat the same method and words so the sequence becomes familiar.
Minute 1: settle and choose one goal
Put the practice shoe on the table. Name one goal, such as “Today we are learning the first crossing knot” or “Today we will make two loops.” Avoid demanding the entire skill every time.
Minutes 2–3: warm up the fingers
Use one quick activity related to the movements required:
- Pinch and move five clothespins from one container edge to another.
- Roll five small pieces of modeling dough between thumb and fingertips.
- Thread several large beads onto a short, supervised cord.
- Pick up coins or counters one at a time and place them in a slot.
This is preparation, not a treatment program. Skip it if the child is ready to work directly with the shoe.
Minutes 4–7: teach one chunk with the two-loop method
Many children find a two-loop, sometimes called “bunny ears,” method easier to understand because both hands perform similar jobs. Use neutral words if your child dislikes the nickname.
- Cross: Hold one lace in each hand and make an X.
- Tuck: Push the top lace under the X and pull both ends sideways. This makes the starting knot.
- Make two loops: Fold each lace into a loop, leaving a small tail.
- Cross the loops: Make another X with the two loops.
- Tuck one loop: Push the top loop under the center of the X.
- Pull the loops: Hold the rounded parts—not the loose ends—and pull sideways until the bow is snug.
Demonstrate beside your child rather than opposite them, so left and right do not appear reversed. Move slowly and say the same short cue each time: “Cross, tuck, pull. Loops, cross, tuck, pull.” Then use hand-over-hand help only if your child welcomes it. Otherwise, point to the next lace and let the child attempt the movement.
Minutes 8–9: repeat the hardest step
Do not automatically restart from the beginning. If making loops is the hard part, undo only that section and practice loops three times. If the first knot loosens, practice crossing and pulling sideways. Repeating one manageable action helps the child experience progress.
Minute 10: end with a clear success
Stop while the child can still think. Name exactly what improved:
“You held both loops while they crossed. Yesterday that part slipped. Your hands are learning the sequence.”
Write down the next practice point in one sentence. Avoid rewarding speed. Accuracy and calm repetition come first; speed usually grows after the movements become familiar.
How to adjust when the method is not working
Make the task easier without taking it over
- The laces keep slipping: switch to flat cotton laces and make larger loops.
- The first knot comes undone: practice only “cross, tuck, pull” and remind the child to pull sideways.
- The child loses the sequence: place a six-picture cue card beside the shoe.
- Hands get confused: use two lace colors and give each hand one color to hold.
- The shoe moves: secure the practice shoe on a nonslip mat.
- Frustration arrives quickly: reduce practice to three minutes and finish one known step.
If the two-loop method remains confusing, a teacher, occupational therapist or another patient adult may demonstrate a different method. Avoid switching techniques every day, because competing sequences can make learning harder.
Preserve school independence while learning
Choose footwear your child can manage for school, physical education and emergencies. Hook-and-loop straps, elastic laces or slip-on shoes are practical supports, not evidence of failure. Check school and activity rules, make sure footwear fits securely and continue practice at a separate calm time.
A predictable after-school or weekend slot often works better than a morning deadline. Nappot’s homework routine guide offers a useful principle that applies here too: keep the sequence short, visible and consistent rather than relying on repeated reminders.
Common mistakes and better alternatives
Avoid shame, comparison and surprise tests
“Your classmates can do this” does not teach the missing movement. Neither does calling the child lazy, babyish or careless. Comparison can make a child hide difficulty or avoid practicing. Use descriptive feedback about the task: “The loop slipped when your fingers moved to the end. Let’s hold the rounded part.”
Do not test the skill for the first time on a busy school morning. Practice shoes and everyday shoes may also differ. After the child succeeds on a table, rehearse with the actual school shoes while seated, then in the usual getting-ready location.
Keep practice collaborative and bounded
Offer small choices: which lace color, which warm-up, or whether the adult demonstrates first. Keep the learning goal clear. If the child refuses, avoid a power struggle:
“You do not want to practice now. Shoe tying is a skill we are learning, and we will try for five minutes after snack tomorrow. You can choose the blue laces or the green ones.”
If distress is high, pause and return at the agreed time. A pause is different from abandoning the skill or forcing practice through tears.
When to ask for professional input
Routine questions to raise
Talk with your child’s teacher if shoe tying is expected at school. Ask what method is taught, whether other children are still learning and what footwear is acceptable. Consistent language between home and school can reduce confusion.
Raise the issue with your child’s pediatrician when it is part of a wider pattern: persistent difficulty with dressing, fasteners, handwriting, scissors, utensils or coordinated two-hand tasks; frequent pain or fatigue; marked frustration that limits participation; or concerns from school. An occupational therapist can evaluate how motor, sensory, visual, attention and task demands affect everyday participation and can suggest individualized strategies.
You do not need to wait for a future checkup when you have broader developmental concerns. Bring concrete examples rather than a label: which tasks are hard, how long the pattern has lasted, what teaching has been tried and how it affects daily life.
Seek prompt help for sudden or concerning changes
Contact a healthcare professional promptly if your child suddenly loses a previously mastered hand skill, develops new weakness, numbness, significant pain, swelling or a major change in coordination. Seek urgent care after a serious hand injury, or for sudden weakness accompanied by other acute symptoms. Shoe tying alone is not an emergency; a sudden loss of function can be.
One-page parent checklist
Before, during and after
- Before: Check the actual school expectation; choose thick contrasting laces; place the shoe on a stable table; pick one step; keep independent school footwear available.
- During: Practice for ten minutes or less; demonstrate beside the child; use the same short cues; repeat the hard chunk; help only as much as needed.
- After: Name one specific improvement; record the next step; stop before conflict; practice on the real shoe only after table success.
What success should look like
Success may first mean making the starting knot independently, remembering the next picture cue or staying calm for five minutes. Later it means tying a bow that remains secure, then doing it on the foot and eventually doing it without prompts. Judge progress across several weeks, not one rushed morning.
Frequently asked questions
Is it common for a 6-year-old not to tie shoes yet?
Children’s experience and skill development vary, so one untied shoe is not enough to identify a delay. Look at practice history and the broader pattern of self-care and classroom hand skills. Ask the teacher or pediatrician if concerns extend beyond shoe tying.
How long should we try this plan?
Try brief practice most days for two to four weeks, adjusting the materials and teaching one chunk at a time. Look for gradual progress rather than instant independence. Seek guidance sooner if the child has pain, regression or broad fine-motor difficulty.
Are elastic laces or hook-and-loop shoes cheating?
No. They can preserve independence and safety while a child learns. Use footwear appropriate for the school and activity, and keep low-pressure shoe-tying practice separate.
What if my child is left-handed?
Teach beside the child and let them choose the hand that naturally makes each loop. Two contrasting lace colors and picture cues matter more than forcing a particular “dominant-hand” sequence.
What if my child refuses every practice?
Reduce the demand, offer two bounded choices and connect practice to a predictable routine. Explore whether the task feels too hard, physically uncomfortable or embarrassing. If avoidance affects many daily tasks, discuss it with the teacher, pediatrician or occupational therapist.
Sources
- HealthyChildren.org: Grade School guidance, American Academy of Pediatrics
- American Occupational Therapy Association: What Is Occupational Therapy?
This article provides general parenting and developmental education. It does not diagnose a motor difficulty or replace an individualized assessment by a qualified healthcare or education professional.